
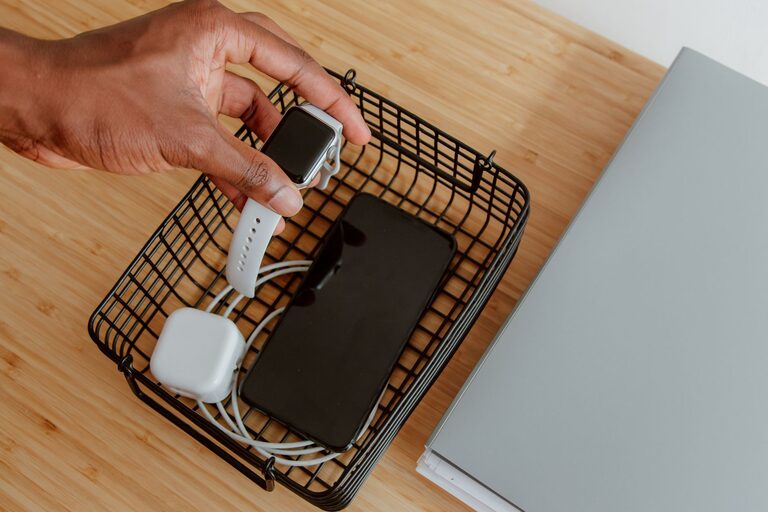
Setting up a dedicated charging station for your devices is a smart way to keep everything organized and fully charged. Whether you have smartphones, tablets, smartwatches, or other electronics, having a central spot to recharge them can reduce clutter and save time. In this guide, we’ll walk you through how to create a functional and neat charging station at home.
Why Set Up a Charging Station?
Before diving into the setup process, let’s consider the benefits:
– Organization: Keeps all your devices in one place, reducing the chance of misplacing cords or devices.
– Convenience: Makes charging your gadgets quick and hassle-free.
– Safety: Reduces the risk of cords getting tangled or damaged.
– Aesthetics: A neat station looks better than a jumble of cords.
What You’ll Need
Before starting, gather some basic supplies:
– A power strip or surge protector with enough outlets
– Charging cables for each device
– A charging dock or stand (optional but helpful)
– Cable organizers such as clips, sleeves, or ties
– A small table, shelf, or a dedicated section of a desk
– Optional: a storage box or basket for extra accessories
Step 1: Choose the Right Location
Select a convenient spot that’s easily accessible and near a power outlet. Common places include:
– A corner of your desk
– A small table in a common area
– A shelf near your living room or bedroom
Ensure the location allows you to keep an eye on your devices while they charge and doesn’t obstruct foot traffic.
Step 2: Prepare the Power Source
Use a high-quality power strip or surge protector to prevent damage from power surges. Decide how many devices you typically charge. It’s a good idea to get a power strip with a few extra outlets to accommodate future needs.
Place the power strip in a location where cords won’t be a tripping hazard but remain easy to plug in and unplug.
Step 3: Organize Your Charging Cables
Tangled cables can ruin even the best charging station. To keep cables neat:
– Use cable clips or holders to guide cords along the edge of a desk or wall.
– Velcro ties or twist ties can bundle excess cable length.
– Cable sleeves can group multiple cords into a single channel for a clean look.
– Label each cable if you charge many similar devices to avoid confusion.
Step 4: Arrange Your Devices
If you have a charging dock that supports multiple devices, use it to save space. Otherwise, small stands or trays can keep devices upright and accessible.
Tips:
– Place devices in a way that allows adequate airflow to prevent overheating.
– Avoid stacking devices on top of each other.
– Consider devices’ charging times and prioritize placement for those that need to be ready first.
Step 5: Add Extras for Convenience
To make your charging station even more useful:
– Include a small basket or drawer for extra cables, adapters, and accessories.
– Add a small lamp or LED light strip to help you see at night.
– Place a notepad nearby to jot down reminders about battery life or device care.
Step 6: Maintain Your Charging Station
Like any organized area, a charging station requires occasional upkeep:
– Regularly dust and clean the area.
– Check cables and chargers for wear and replace if necessary.
– Remove devices once fully charged to free up space.
Tips for a Safe Charging Station
– Avoid overloading outlets by using power strips with built-in circuit breakers.
– Use manufacturer-approved chargers to ensure device safety.
– Keep liquids away from the charging area.
– Don’t cover devices while charging to prevent overheating.
Conclusion
Setting up a charging station doesn’t have to be complicated. With some planning and simple tools, you can create a dedicated spot that keeps your devices powered, organized, and ready to go. Follow these steps and you’ll enjoy a clutter-free, efficient charging experience every day.
Happy charging!